




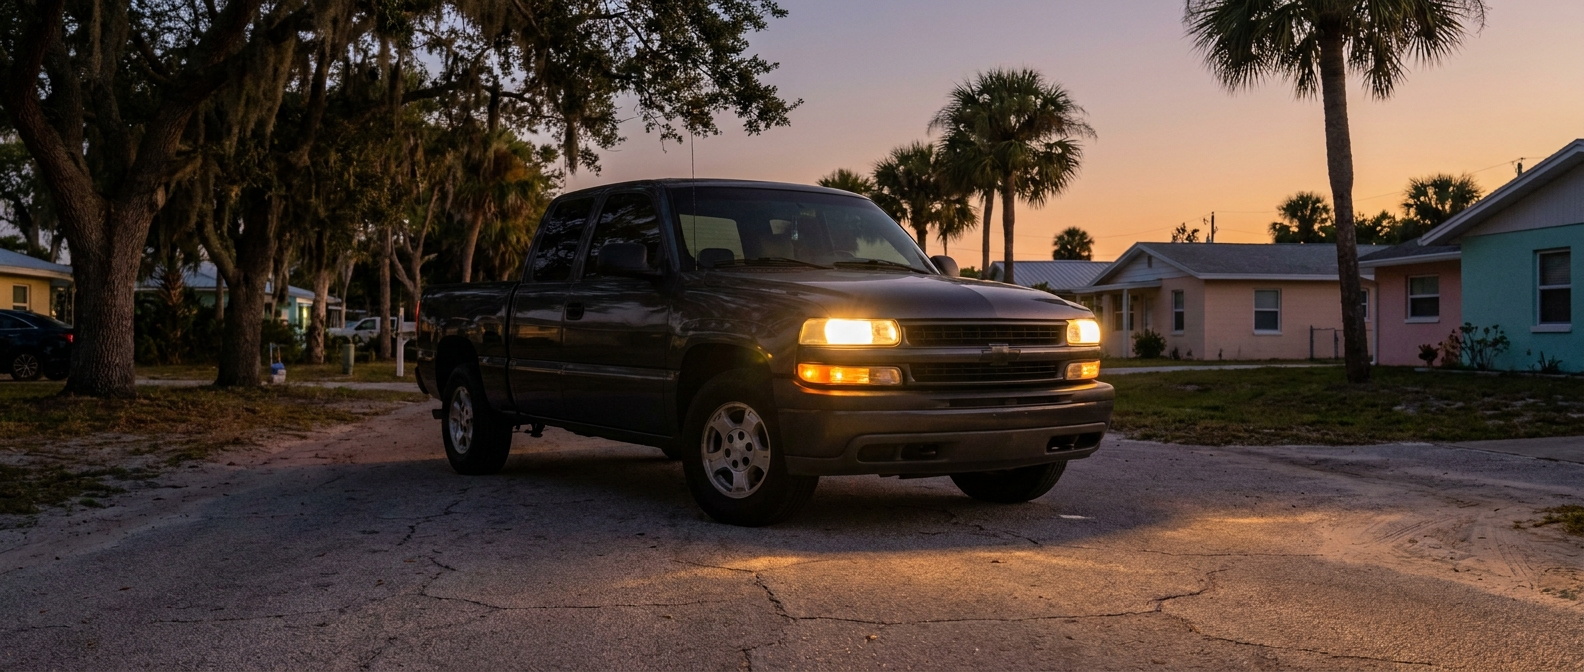
Sunset in Panama City lands at 6:13 PM today. By the time November's time change rolls in, that number drops under 5:00 PM. Run your headlights on yellowed, oxidized lenses all summer and you'll find out the hard way, right in the middle of your commute home.
Headlight restoration is real maintenance, not a detailing luxury, and October is exactly the right time for it. Gulf Coast UV and year-round humidity push Bay County vehicles onto an accelerated oxidation timeline. Our service team can inspect both lenses and tell you whether yours need a professional restoration, a UV protective recoat, or a housing replacement before the short days arrive.
What Goes on Your Fall Headlight Checklist?
Seven points cover it, and the whole inspection runs just a few minutes if you work through them in order. Do it in a shaded spot so the surface condition reads accurately, because direct sun hides haze and washes out the color you're trying to judge.
- Run the finger test on each lens. Press a clean fingertip firmly across the outer surface of the lens. A rough, faintly gritty texture means external oxidation. A smooth outer surface with cloudiness you can see but can't feel points to condensation inside the housing. Those are two different problems with two different fixes.
- Check lens color in daylight. Yellow or amber tinting on the outer surface is early-to-moderate UV oxidation. A milky, chalky white haze spread across most of the lens is moderate-to-severe. Pits, cracks, or a texture like dried mud mean the polycarbonate has started to craze, and restoration may not be enough.
- Turn the lights on and look at the beam from the front. Walk around to the front of your vehicle and look at both low beams straight on. They should read bright white or cool white and throw a clean, distinct cutoff line on the pavement. A dim, diffuse yellow wash means the oxidized lens is scattering the light before it ever leaves the housing.
- Check beam alignment. Aim matters as much as brightness. Low beams aimed too high or uneven left-to-right cut your forward visibility and throw glare at oncoming drivers. It's a separate adjustment from restoration, but it's worth checking at the same time.
- Inspect the housing seal. Look for any moisture beads, fogging, or visible condensation inside the lens. A broken housing seal does that. Surface oxidation won't, and no polish kit will fix it.
- Check your fog lights. On vehicles equipped with front fogs (the Jeep Grand Cherokee and Jeep Wrangler both offer them), the lenses sit lower to the ground and catch road spray and grit more aggressively. They oxidize faster than the main headlights in a lot of cases.
- Verify wiper blade contact on both sides. A wiper check belongs on any fall visibility list. A streaking blade on a wet October evening plus dim headlights is a compounding problem. A blade that lifts or skips leaves a haze on the glass that plays straight into your headlight output.
Why Gulf Coast Conditions Make Oxidation Worse Than You Think
Most oxidation guides assume a moderate climate, and Bay County simply isn't one for polycarbonate, which means the standard advice underestimates how fast your lenses degrade down here. The UV load, the humidity, and the salt air all stack against the factory coating.
The factory applies a UV-protective hardcoat over every polycarbonate lens before the vehicle leaves the plant. That coating is the only thing standing between the plastic and the sun. According to ECP Inc., a manufacturer of protective coatings for automotive applications, that factory hardcoat begins to fail within three years on vehicles exposed to high UV. Once it fails, bare polycarbonate oxidizes from the outside inward. UV photons at the 280-400 nanometer wavelength break carbon-oxygen bonds in the polymer backbone, producing the yellowing and haze you're looking at.
Florida's Gulf Coast runs a UV index of 8 or higher for well over 120 days per year. That is the threshold at which polycarbonate degradation accelerates sharply, according to SAE testing standards for accelerated UV weathering. Add humidity that rarely drops below 70 percent on the Panhandle and salt-laden air from the Gulf and St. Andrews Bay, and you've got a combination that eats the factory coating noticeably faster than the national average.
The consequences aren't abstract. AAA tested severely deteriorated headlights on a pair of older sedans against new OEM assemblies and found the deteriorated low beams produced just 22 percent of the original light output. Call it roughly an 80 percent reduction. FMVSS 108, the federal standard for headlamp photometric output, sets a minimum of 15,000 candela at the low-beam cutoff. Degraded lenses routinely fail to meet that floor.
Restoration removes the oxidized surface layer through progressive sanding (typically 400 to 3000 grit, moving from coarser to finer), followed by a polishing compound to clear micro-scratches, and then a UV sealant coat. The sealant isn't optional. Skip it and the fresh polycarbonate surface re-oxidizes within months, because there's no longer a hardcoat protecting it.
| Checklist Item | Why It Matters |
|---|---|
| Finger test for grit | Tells you whether the problem is external oxidation (fixable) or internal fogging (different fix) |
| Visible beam pattern at night | Oxidized lenses scatter light into a diffuse wash instead of a focused beam |
| Lens crazing or pitting | Once polycarbonate starts to crack through the thickness, restoration has limits |
| UV sealant applied after polish | Without it, bare polycarbonate re-oxidizes within a few months in high-UV climates |
| Fog light lenses inspected separately | Positioned lower, they pick up spray and road grit faster than the main assemblies |
| Housing seal integrity | Broken seals allow condensation inside, which no surface restoration addresses |
| Wiper blade condition | Streaking on wet glass compounds reduced headlight output on rainy fall evenings |
Schedule a Fall Visibility Inspection
Your Print-and-Go Pre-Dark Commute Recap
If you want one reference to keep before the evenings tighten up, work this list before the clocks fall back, and you'll head into the dark season knowing exactly where your lenses stand.
- Finger-test both headlight lenses for surface roughness (external oxidation) versus a smooth-but-cloudy surface (internal moisture).
- Look at both low beams from the front in the dark. If the beam is dim, yellow, or casts more of a glow than a pattern, restoration is warranted.
- Confirm your fog lights are equally clear. They sit lower and take more road spray.
- Planning a DIY kit? Know that a kit without a UV sealant step is a temporary fix. In Florida sun, you're looking at months, not years, before the bare polycarbonate re-oxidizes.
- If the housing has interior condensation, a restoration kit won't help. A seal failure is a different repair entirely.
- Check alignment and wiper blades while you're at it. A visibility inspection is worth doing all at once.
- If your current vehicle's lens condition is at the crazing or severe yellowing stage and restoration won't get it back to safe output levels, browsing our current inventory is worth a look for what's available on the lot.
October is the right window. The days are short enough now that you're already driving home in low light. They're only going to get shorter from here.
Frequently Asked Questions
Does headlight restoration actually work, or is it just a temporary fix?
Professional restoration with a proper UV sealant coat does restore meaningful light output, and it holds up well, typically two to three years. The key word is sealant. The restoration step (sanding and polishing) removes the oxidized surface layer and clears the optical path. Without a UV sealant applied immediately after, you've just exposed fresh polycarbonate to the same UV environment that destroyed the factory coating. On the Gulf Coast, that means re-oxidation in months. A kit that only polishes and does not include a UV topcoat is a short-term improvement, not a genuine restoration. For lenses with crazing (visible surface cracks) or oxidation that has penetrated through the thickness of the lens, professional evaluation makes more sense than a kit.
How do I tell the difference between external oxidation and condensation inside the housing?
With external oxidation, the outer lens surface feels rough or gritty to the touch, looks yellow or chalky, and the problem is patchy or concentrated toward the top of the lens where UV hits hardest. You can often see slight streaking or a texture. With internal condensation, the outer surface is perfectly smooth and glassy, but a uniform haze or visible moisture beads sit across the entire inside of the lens. Internal condensation means the housing seal has failed. No amount of polishing the outside changes what's happening inside. The repair path is different, since the housing needs to be resealed or replaced.